To recap we now have:
- A DHCP / TFTP server running
- You’ll need a keyboard (and a mouse would make life easier) plugged into the server. And a monitor hooked up.
- A server with the OS hard disk (and no others) in it
- That is booting into the OS install program
The install itself is pretty straightforwards.
- Choose a language and click ok.
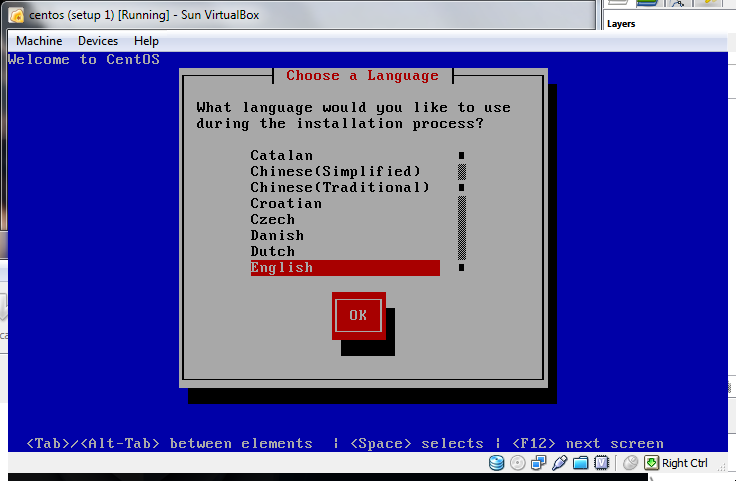
- Choose a keyboard type and click ok.
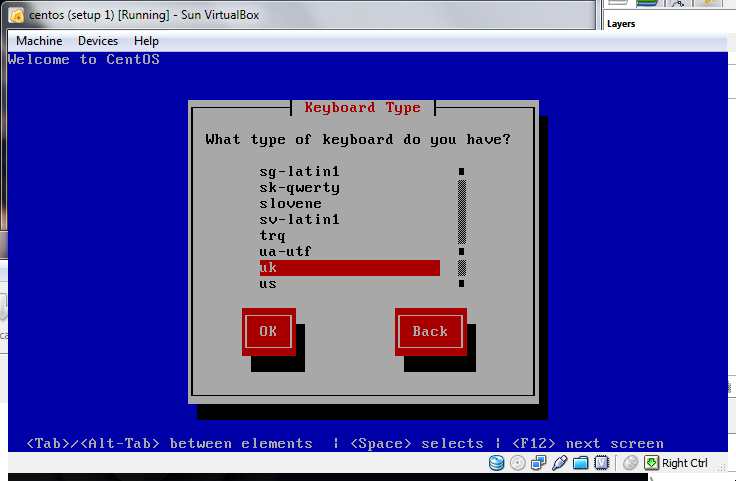
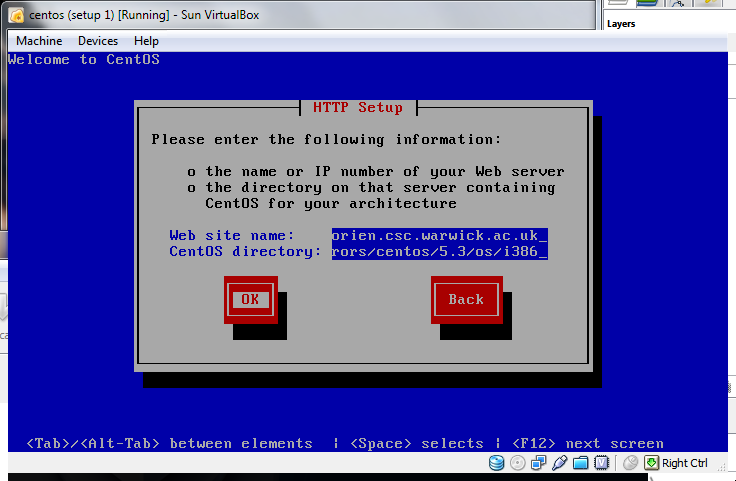
- Choose HTTP and click OK
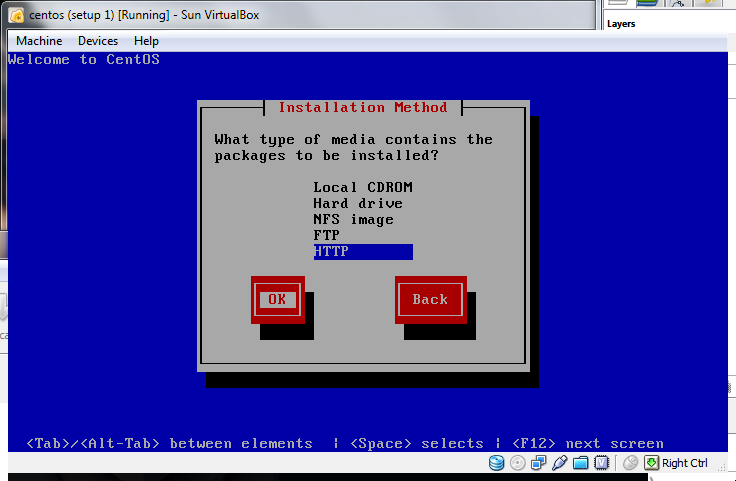
- Take the defaults and click ok
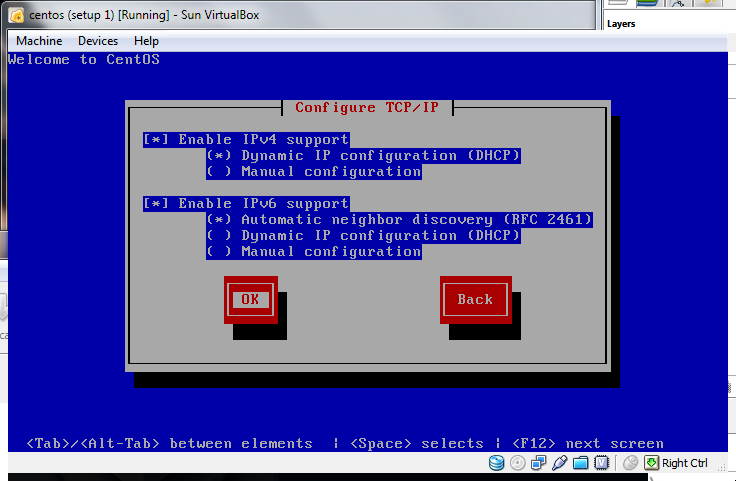
- The website name is a centos mirror. Take your pick from the list of mirrors – I went for anorien.csc.warwick.ac.uk. The directory is mirrors/centos/5.4/os/i386 (NOT the 5.3 in the screenshot!).
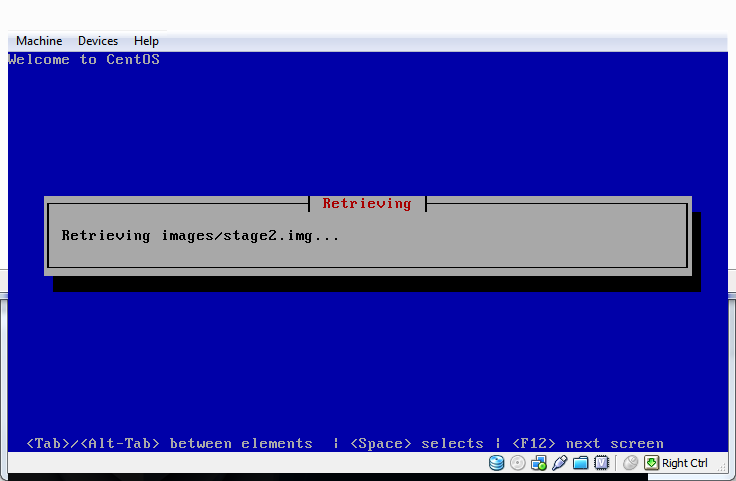
- There is a pause while the stage 2 loader is downloaded
- Then the stage 2 loader pops up (if you have a tiny amount of video memory you may get the text version – all the instructions still apply)
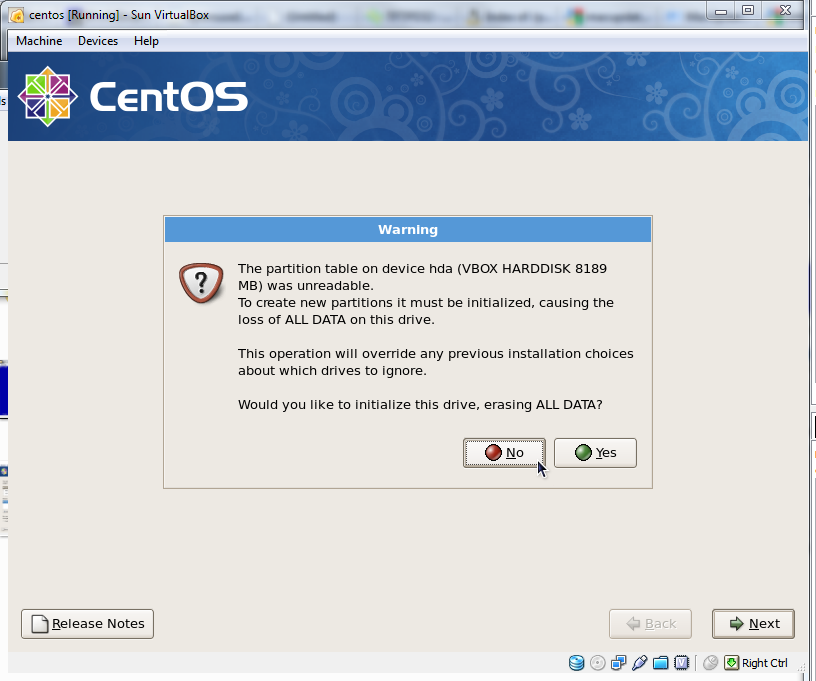
- If you have a new hard disk you’ll need to ok a warning about the drive
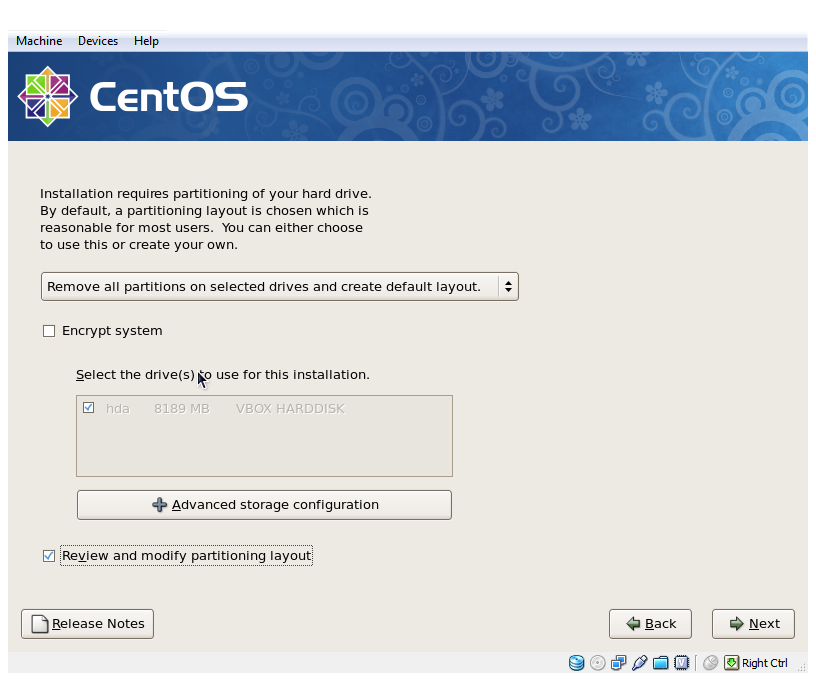
- For the partitioning I’ve chosen to remove all the partitions on the drive and want to review the layout. Choose the option appropriate to you.
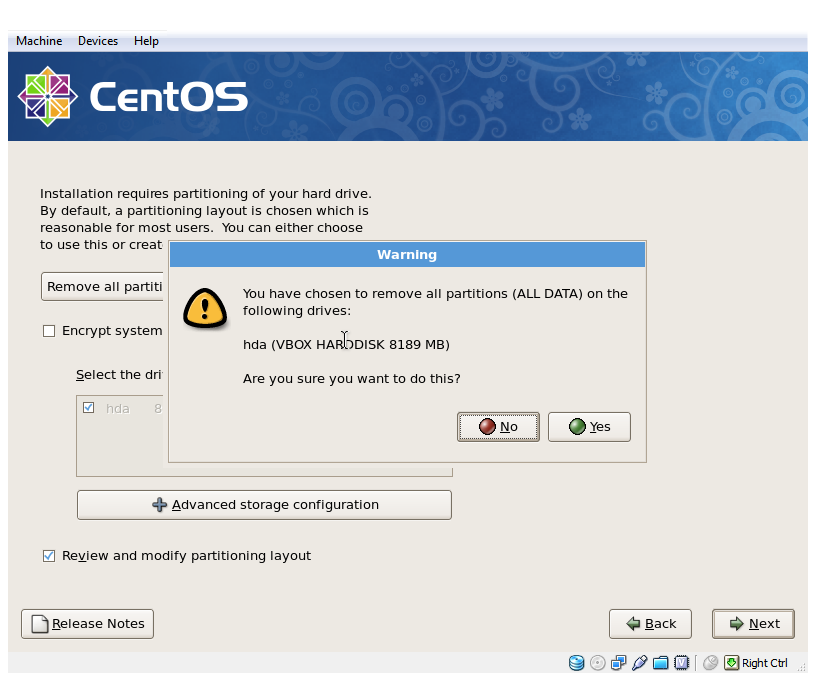
- If you are deleting all the partitions you get another warning.
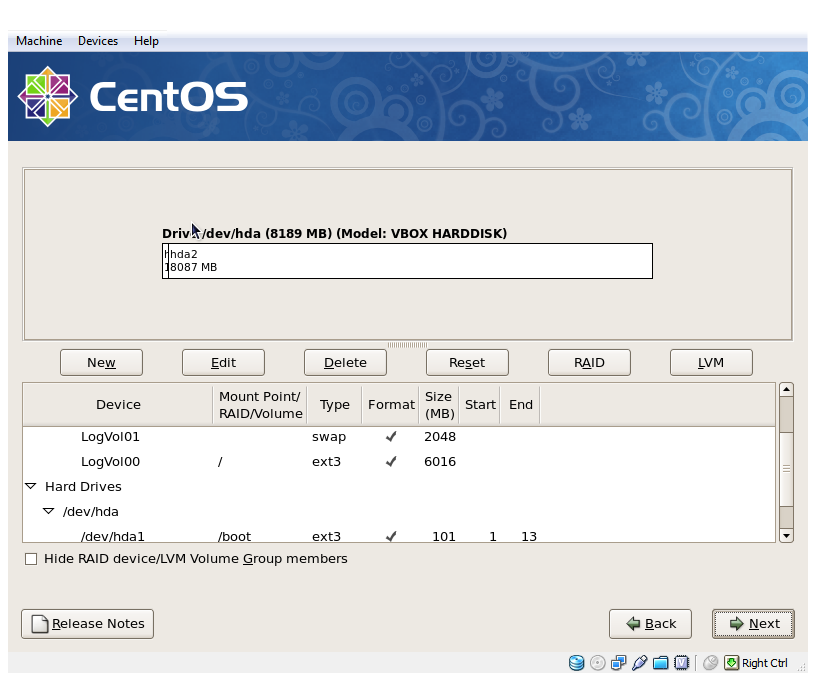
- A review of what will be created. You can see boot, swap and data partitions, and the LVM setup. Again not having the additional disks in makes this a bit easier. I like to have two volume groups – one for data and one for the OS drive – makes swapping things round a lot easier. With only one drive to choose from the defaults are fine.
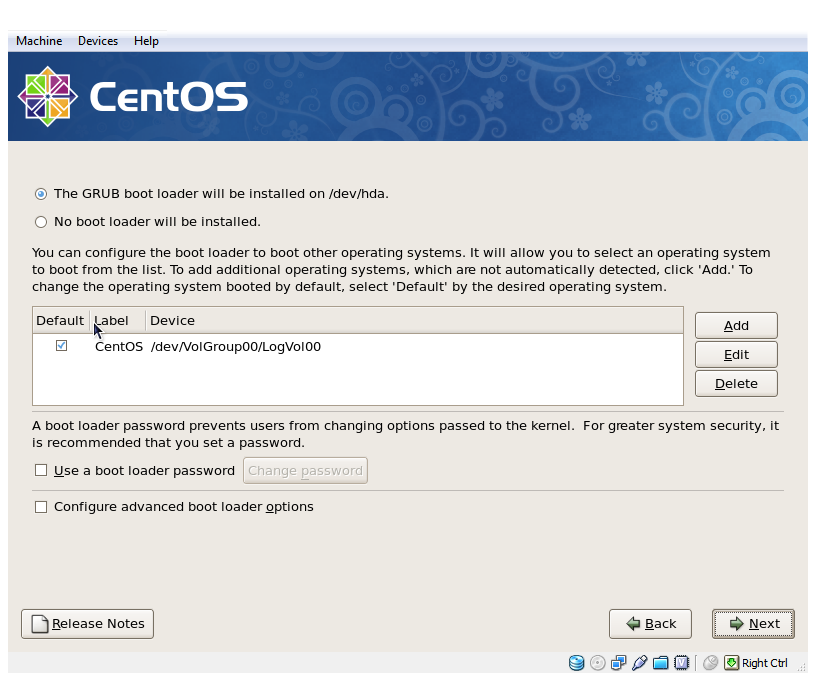
- We do want a boot loader – just take the defaults
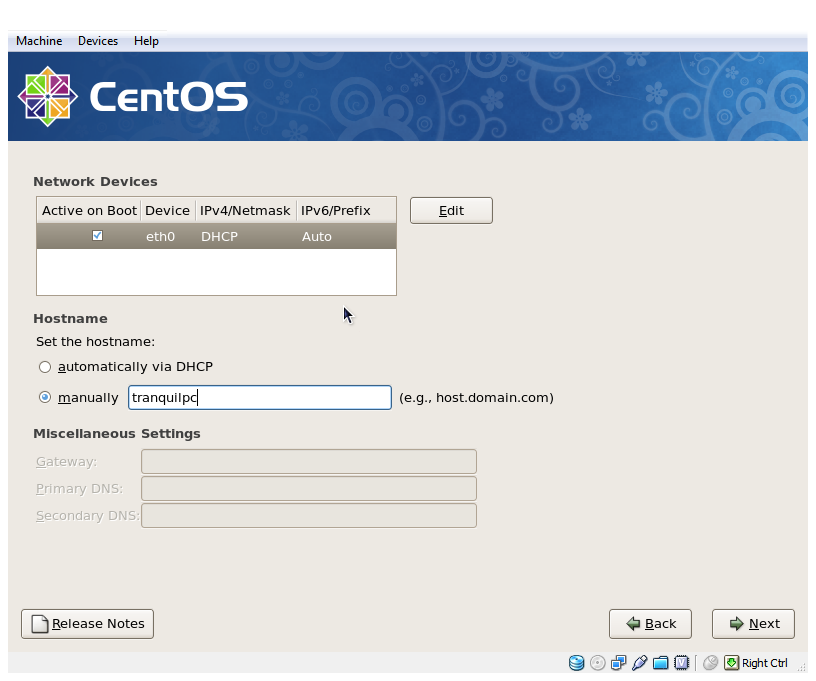
- I’ve manually specified a hostname. Put in whatever you want (or leave it coming from the router).
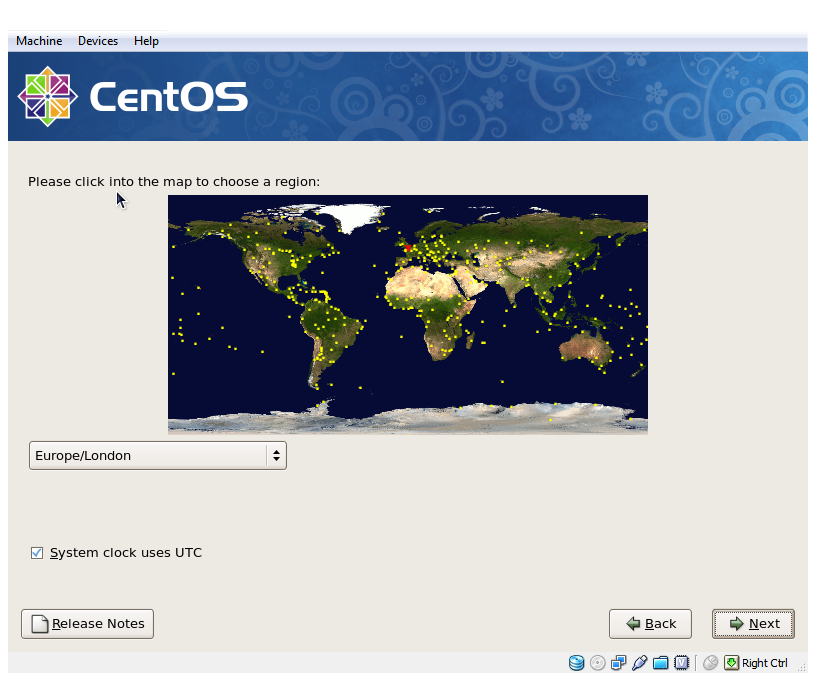
- Choose your location.
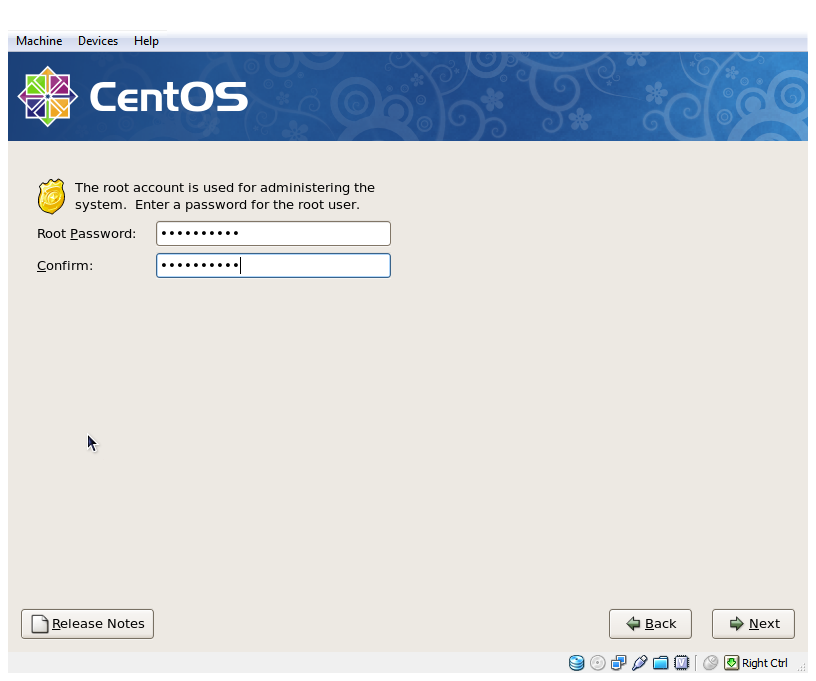
- Choose your password for root. Make it as secure as you possibly can.
- Choose your packages to install. The approach I take is to uncheck everything on this page, and check the Customize now option. Basically the less you install the less there is to switch off later as we dont need it
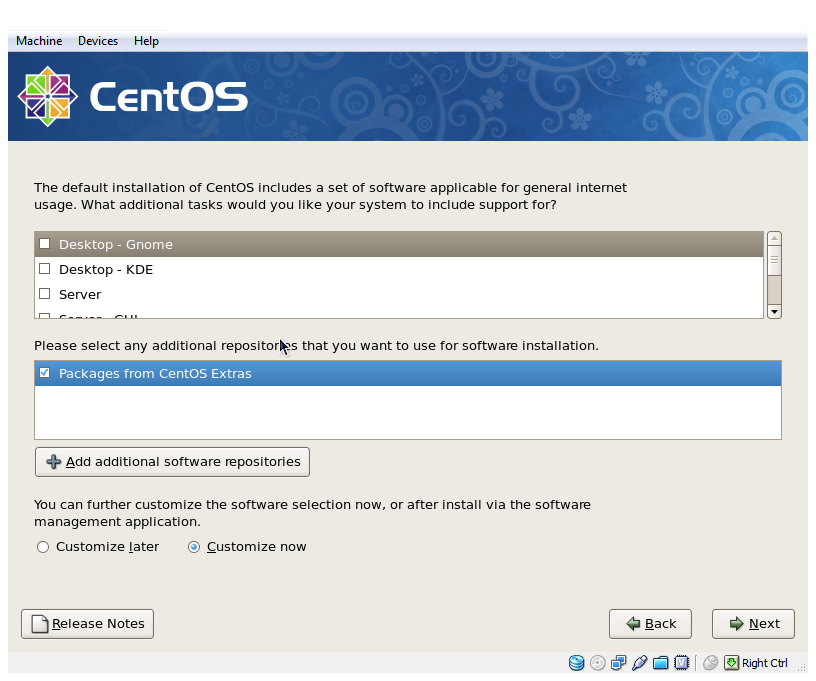
- The only thing you want checked on is the Base group package (in the base system section). Everything else can be toggled off. Including the web server and mysql, and text editors. Everything we need will be added back later.
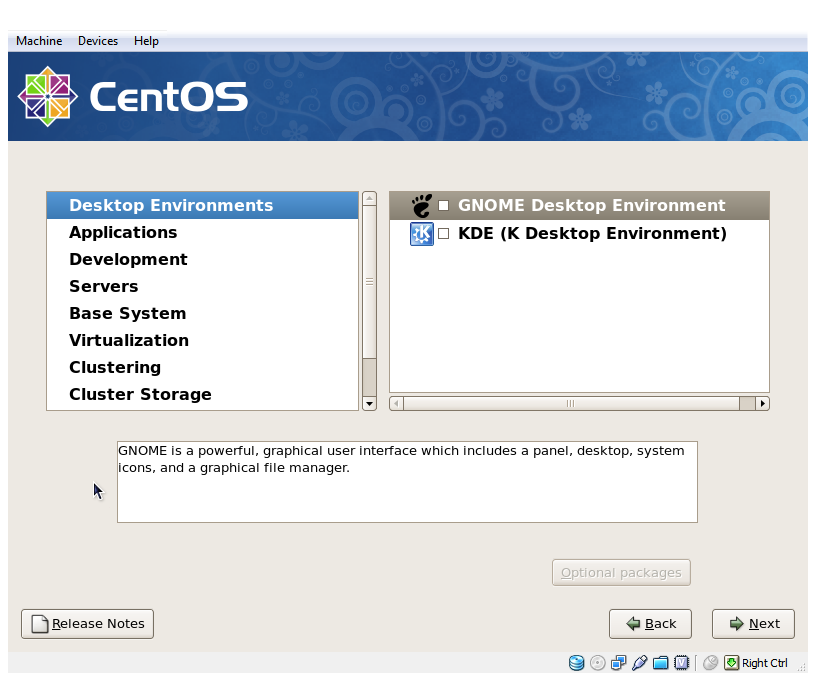
- Click Next!
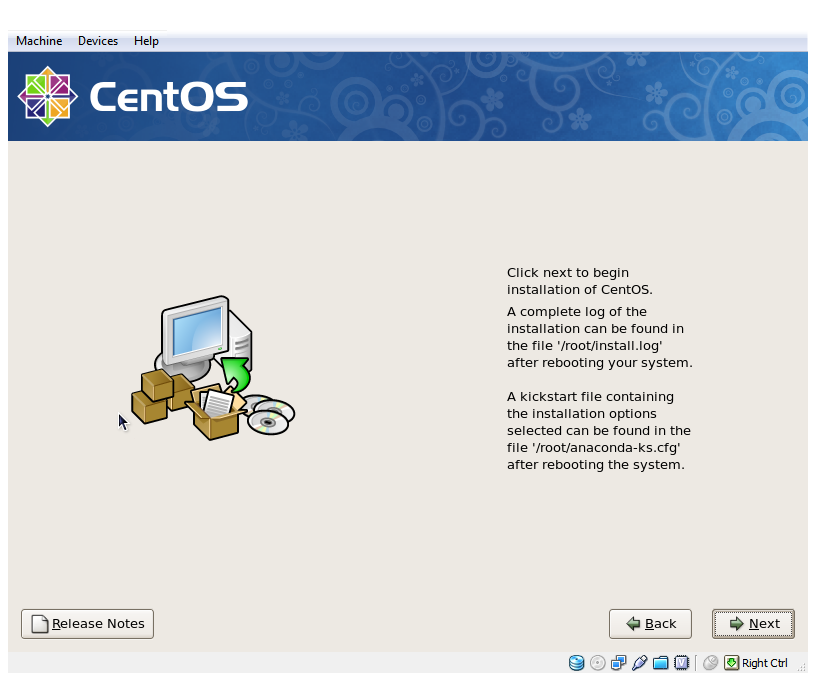
- It formats
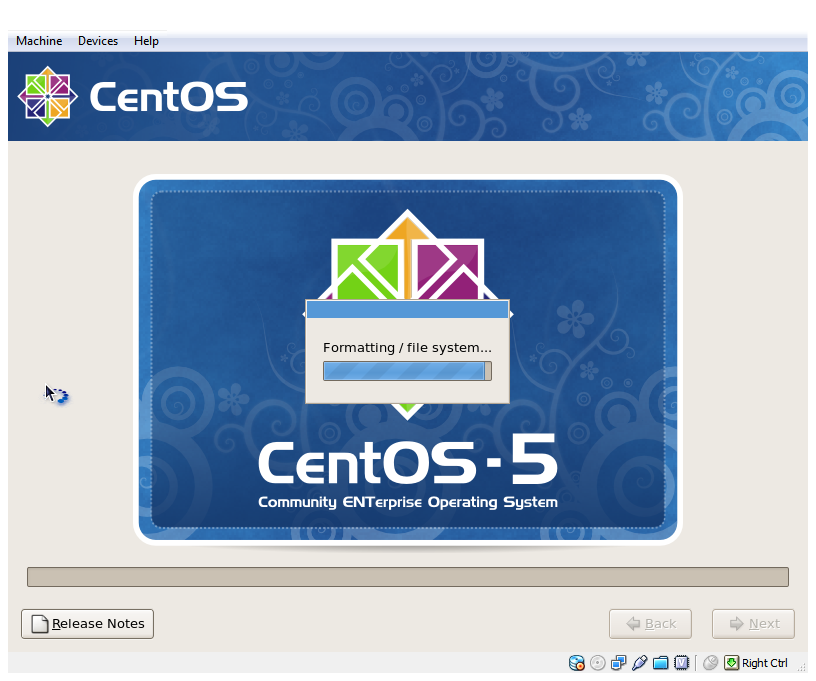
- It thinks
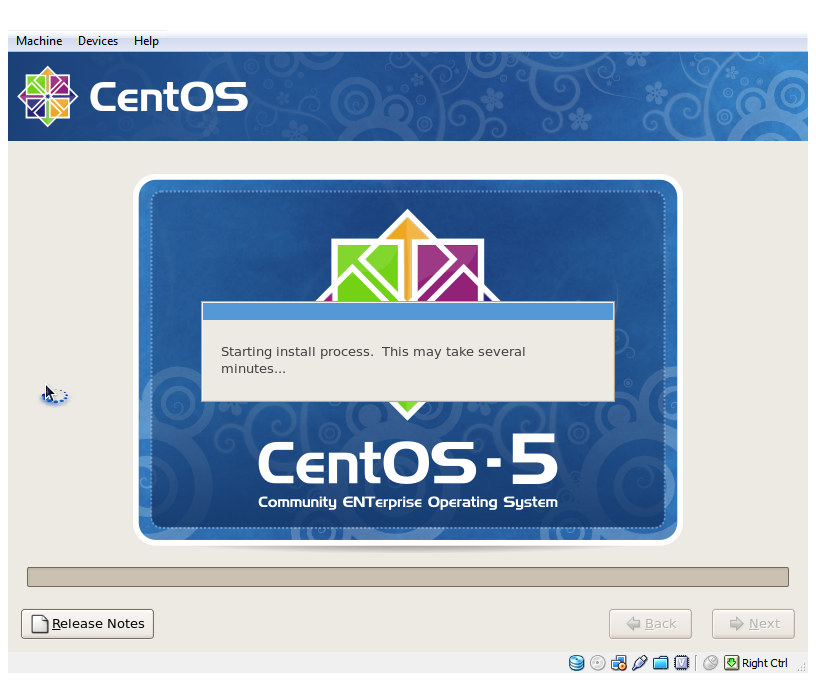
- It installs
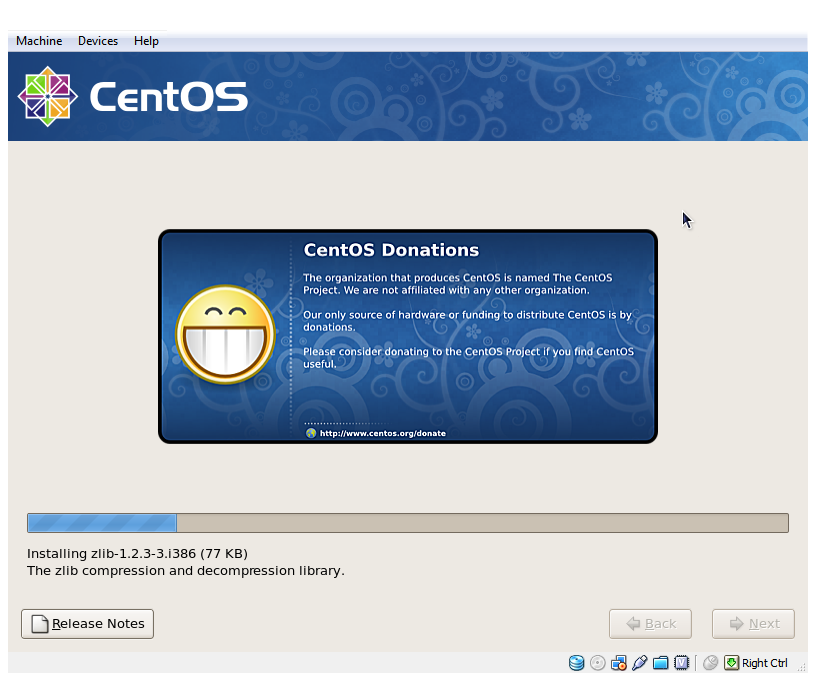
- And it’s over
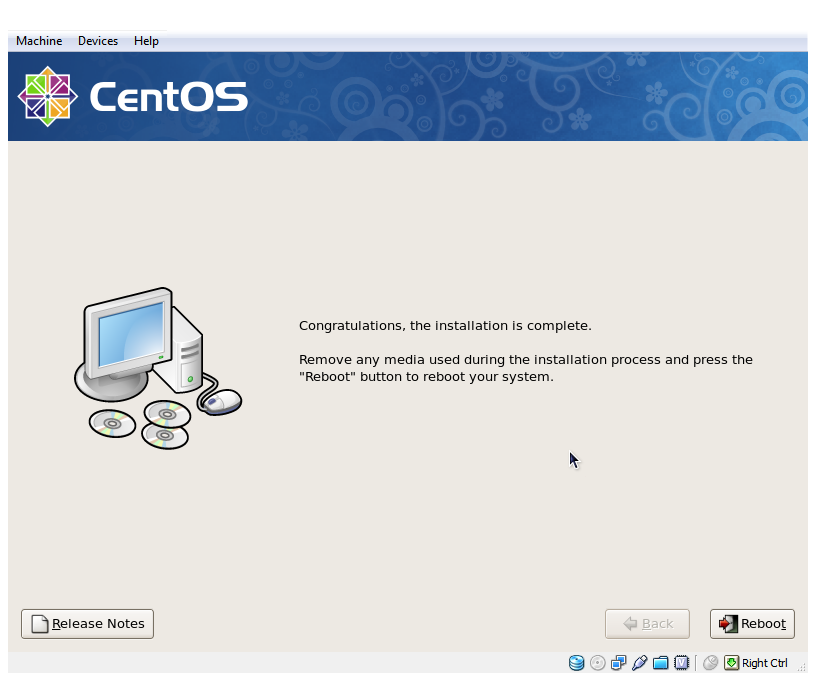
If you are installing from a network boot you need to go back into the bios at this point and set the hard disk to be the first boot device. You can turn off your TFTP server too, and if you turned off the DHCP server on your router you can turn that back on.
Now we have a base linux install on our server. When you reboot you should get a login prompt. You can login as root with the password you specified earlier in the install process. If you actually log in through the console (i.e. you don’t use putty to ssh in) you’ll be taken into the firstboot program – which lets you configure the network and firewall. We’ll be covering those settings in the next section, so you can just exit the program. Before rebooting it is probably worth setting the IP to be static – which is covered in the next section – otherwise you won’t know what IP address to SSH into.
Leave a comment